7 min readBy Iftekhar Priyo
GitHub Actions for Beginners: Automatically Deploying to EC2
GitHub Actions and CI/CD may sound complicated, but the basic idea is simple: automate the deployment steps you already perform manually.
- CI/CD
- DevOps
- Github Actions
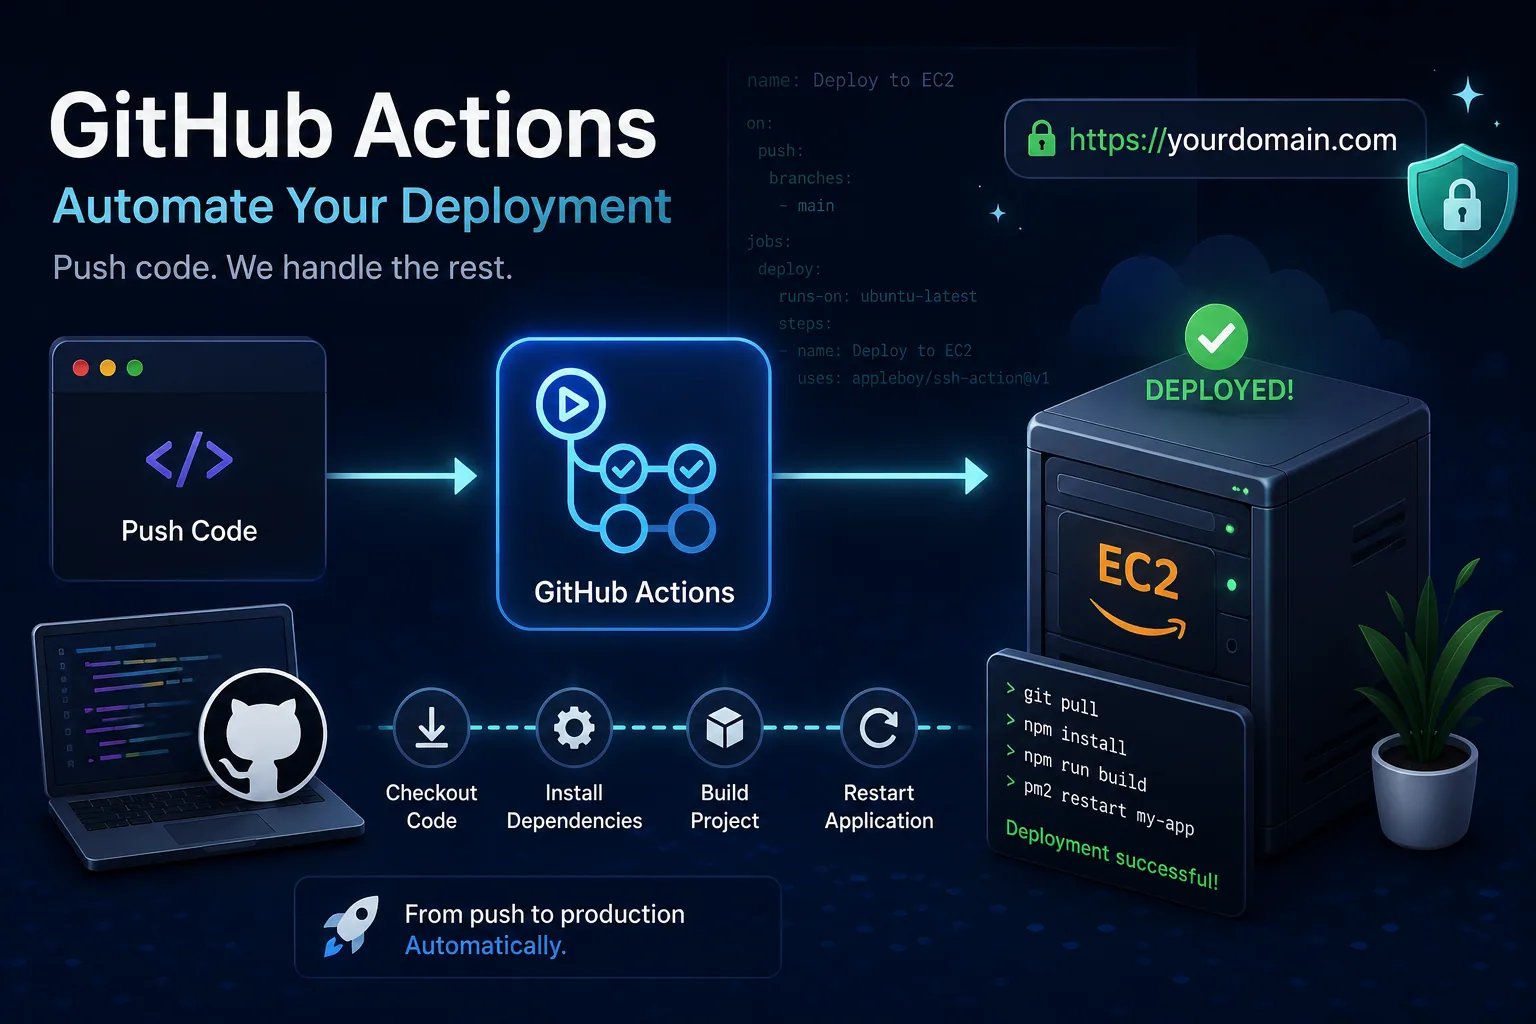
Until now, every time we updated our application, we had to connect to the EC2 server and run commands manually.
The process probably looked something like this:
cd ~/apps/my-project
git pull
npm install
npm run build
pm2 restart my-app
This works perfectly.
But repeating the same commands after every update becomes tiring and easy to forget.
This is where GitHub Actions helps.
GitHub Actions Is Not as Scary as It Sounds
Terms like CI/CD, pipelines, and workflows can sound complicated when you first hear them.
But the basic idea is very simple:
When something happens in your GitHub repository, automatically run a list of commands.
For example:
Push code to GitHub
        ↓
GitHub Actions starts
        ↓
Connects to EC2
        ↓
Pulls the latest code
        ↓
Builds the project
        ↓
Restarts the application
Instead of doing the deployment manually, GitHub does it for us.
What Does CI/CD Mean?
CI/CD stands for:
- Continuous Integration
- Continuous Delivery or Deployment
For now, you don't need to memorize the formal definitions.
In our simple project, it means:
Whenever we push new code, automatically update the application running on EC2.
That is enough to understand the basic idea.
What Is a GitHub Actions Workflow?
A workflow is simply a YAML file that tells GitHub:
- When it should run
- Where it should run
- Which steps it should perform
Workflow files are stored inside:
.github/workflows/For this article, we'll create:
.github/workflows/deploy.ymlBefore We Start
Your EC2 server should already have:
- The project cloned
- Node.js installed
- Project dependencies installed
- PM2 running the application
- Nginx configured
You should also be able to update the project manually with commands such as:
git pull
npm install
npm run build
pm2 restart my-app
GitHub Actions will simply automate these same steps.
Step 1 — Create an SSH Key for Deployment
GitHub Actions needs permission to connect to your EC2 server.
On your own computer, create a separate SSH key:
ssh-keygen -t ed25519 -C "github-actions-deploy"When asked where to save it, you can use a name such as:
github-actions-ec2This creates two files:
github-actions-ec2
github-actions-ec2.pub
The file ending in .pub is the public key.
The other file is the private key.
Never share or commit the private key.
Step 2 — Add the Public Key to EC2
Connect to your EC2 server.
Open the authorized keys file:
nano ~/.ssh/authorized_keysCopy the contents of:
github-actions-ec2.puband paste it on a new line.
Save the file.
This allows anyone holding the matching private key to connect to the server.
Step 3 — Add GitHub Secrets
Open your GitHub repository and go to:
Settings
→ Secrets and variables
→ Actions
→ New repository secret
Add these secrets:
| Secret | Value |
|---|---|
EC2_HOST | Your EC2 public IP or domain |
EC2_USER | Usually ubuntu |
EC2_SSH_KEY | The complete private key |
EC2_PORT | Usually 22 |
Secrets allow the workflow to use sensitive values without placing them directly inside the repository.
Important
Copy the entire private key, including the beginning and ending lines.
It normally looks similar to:
-----BEGIN OPENSSH PRIVATE KEY-----
...
-----END OPENSSH PRIVATE KEY-----
Step 4 — Create the Workflow
Inside your project, create:
.github/workflows/deploy.ymlAdd the following workflow:
name: Deploy to EC2

on:
  push:
    branches:
      - main

jobs:
  deploy:
    runs-on: ubuntu-latest

    steps:
      - name: Deploy application
        uses: appleboy/ssh-action@v1
        with:
          host: ${{ secrets.EC2_HOST }}
          username: ${{ secrets.EC2_USER }}
          key: ${{ secrets.EC2_SSH_KEY }}
          port: ${{ secrets.EC2_PORT }}
          script: |
            cd ~/apps/my-project
            git pull origin main
            npm install
            npm run build
            pm2 restart my-app
Replace these values with your actual setup:
~/apps/my-project
main
my-app
Understanding the Workflow
Let's break down only the important parts.
Workflow name
name: Deploy to EC2This is the name you'll see inside the Actions tab on GitHub.
When should it run?
on:
  push:
    branches:
      - main
This means:
Run the workflow whenever code is pushed to the
mainbranch.
If you deploy from a development branch instead, replace main with:
branches:
  - development
Where does it run?
runs-on: ubuntu-latestGitHub temporarily creates an Ubuntu machine to run the workflow.
That temporary machine connects to your EC2 instance and sends the deployment commands.
How does it connect to EC2?
uses: appleboy/ssh-action@v1This action connects to your server through SSH.
The host, username, and private key come from GitHub Secrets.
Which commands run on EC2?
script: |
  cd ~/apps/my-project
  git pull origin main
  npm install
  npm run build
  pm2 restart my-app
These are the same commands you previously ran manually after connecting to the server.
The only difference is that GitHub Actions now runs them for you.
Step 5 — Push the Workflow
Commit the new workflow:
git add .github/workflows/deploy.yml
git commit -m "Add EC2 deployment workflow"
git push origin main
Open your repository on GitHub and select the Actions tab.
You should see the workflow running.
A green check mark means it completed successfully.
A red cross means one of the steps failed. Open the workflow to read its logs.
What Happens After This?
From now on, your deployment flow becomes:
Change the code
      ↓
Push to GitHub
      ↓
GitHub Actions connects to EC2
      ↓
Latest code is pulled
      ↓
Application is rebuilt
      ↓
PM2 restarts it
No more manually connecting to EC2 after every small update.
Common Beginner Questions
Is GitHub Actions another server?
GitHub temporarily provides a machine called a runner to perform the workflow.
It runs the instructions and disappears when the job finishes.
Is YAML a programming language?
Not exactly.
YAML is mainly a structured way to write configuration. Indentation matters, so use spaces carefully.
Why do we use GitHub Secrets?
Because your private SSH key and server information should not be written directly inside a public or private repository.
Does GitHub Actions replace PM2?
No.
GitHub Actions deploys the new code.
PM2 keeps the application running on EC2 after the deployment finishes.
Should every push deploy to production?
For a small learning project, deploying from main is acceptable.
In a larger project, teams usually run tests first and may require pull-request reviews or manual approval before production deployment.
A Small Security Note
This workflow uses a third-party SSH action to keep the example understandable.
For serious production systems, review third-party actions carefully and pin them to a trusted commit instead of relying only on a moving version tag.
You should also use a dedicated deployment key rather than your personal EC2 key.
Wrapping Up
GitHub Actions is not magic.
It is simply a list of commands that runs automatically when something happens in your repository.
Before GitHub Actions:
Push code
→ Connect to EC2
→ Pull code
→ Build
→ Restart
After GitHub Actions:
Push code
→ Deployment happens automatically
That is the basic idea behind CI/CD.
You don't need a complicated pipeline to start learning it. Automating one small deployment is already a real and useful first step.
Share this article
Send it to someone who might find it useful.