4 min readBy Iftekhar Priyo
Why Does Chrome Say 'Not Secure'? Securing Your Website with HTTPS
Your website is online and accessible through a domain, but Chrome still shows 'Not Secure'. In this guide, we'll learn why that happens and how to fix it using a free SSL certificate from Let's Encrypt.
- AWS
- EC2
- NGINX
- SSL
In the previous article, we connected our own domain to the EC2 server using Nginx.
Now our website looks much better:
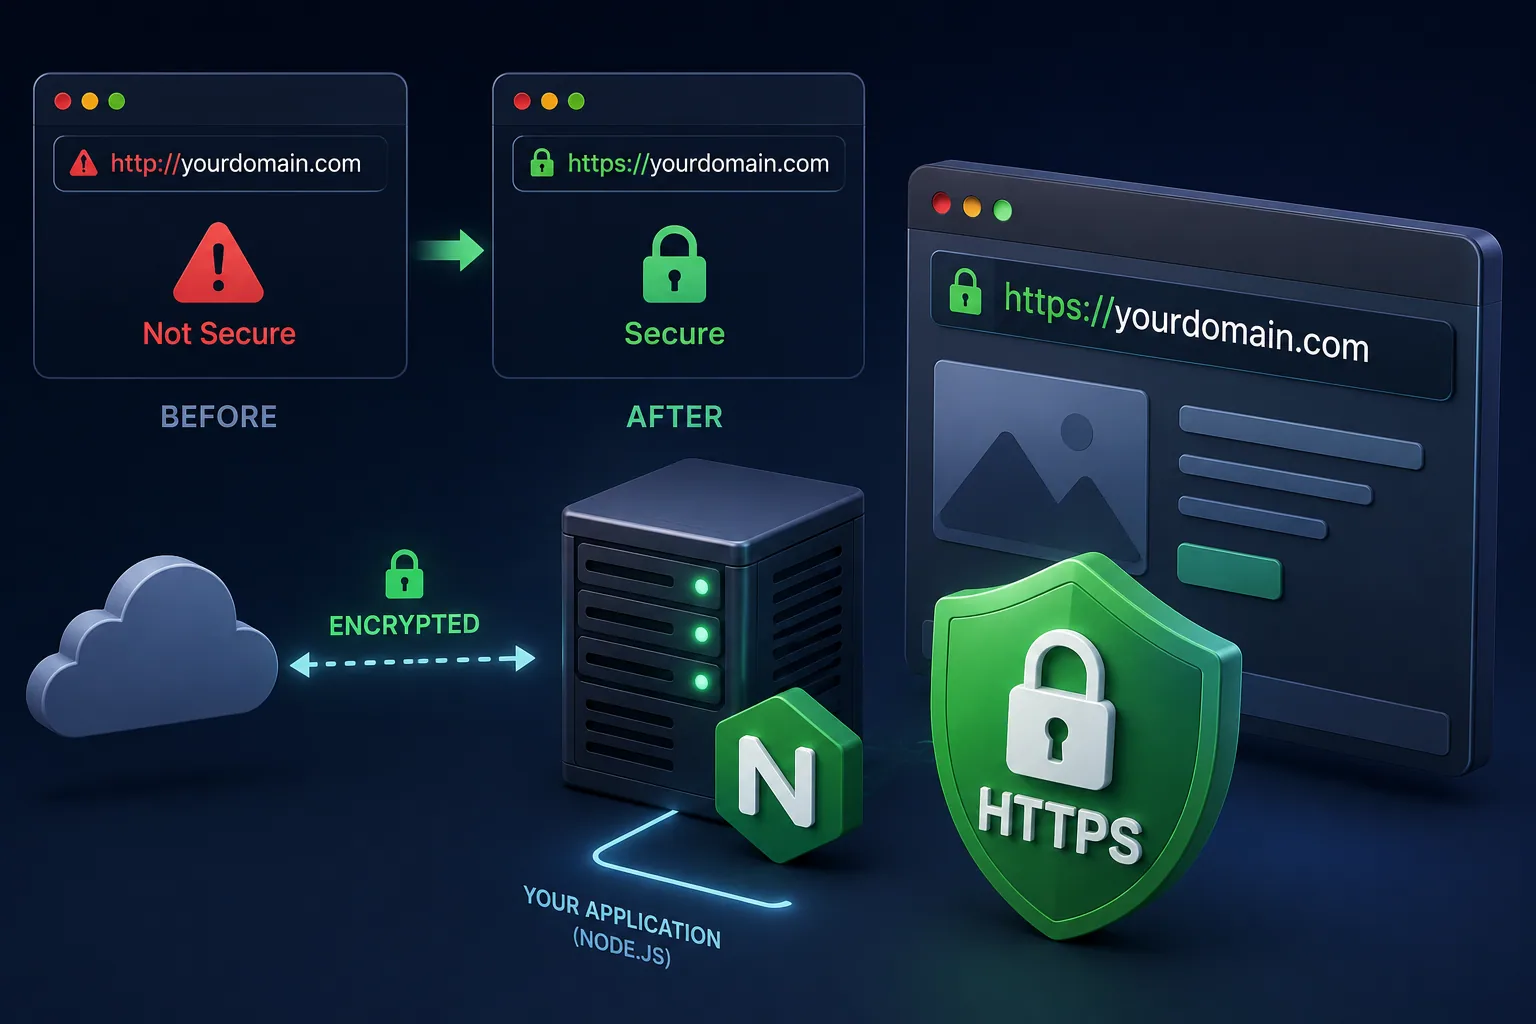
http://yourdomain.comBut Chrome still shows something like:
⚠️ Not Secure
Seeing that message can be worrying, especially if you've never worked with web servers before.
The good news is that nothing is broken.
Your website works.
It just isn't encrypted yet.
By the end of this article, your website will look like this:
https://yourdomain.comwith the familiar padlock in the address bar.
What Does "Not Secure" Actually Mean?
Whenever you visit a website, your browser sends information across the internet.
Without HTTPS, that information travels as plain HTTP.
That means anyone who can intercept the connection could potentially read or modify the data being sent.
HTTPS solves this problem by encrypting the communication between your browser and the server.
Think of it like sending a letter.
HTTP is like sending a postcard—anyone handling it can read what's written.
HTTPS is like placing that letter inside a sealed envelope.
People may still know where it's going, but they can't read what's inside.
What Is an SSL Certificate?
An SSL certificate is like a digital identity card for your website.
It tells visitors:
- this website really owns this domain
- communication should be encrypted
Without a valid certificate, browsers cannot trust the connection.
That's why Chrome displays "Not Secure."
Good News: It's Free
Years ago, SSL certificates often cost money.
Today, most websites use Let's Encrypt, a free and trusted certificate authority.
That means you can secure your personal projects, portfolio, or startup without paying anything.
Install Certbot
We'll use Certbot, the official tool that works with Let's Encrypt.
Install it:
sudo apt update

sudo apt install certbot python3-certbot-nginx -y
Request Your Certificate
Now run:
sudo certbot --nginxCertbot will guide you through a few questions.
You'll usually need to:
- enter an email address
- accept the terms
- choose the domain you want to secure
After a minute or two, Certbot automatically updates your Nginx configuration.
Test Your Website
Visit:
https://yourdomain.comIf everything worked correctly, Chrome should no longer display "Not Secure."
Instead, you'll see a secure HTTPS connection.
Congratulations—you now have an encrypted website.
What Just Happened?
Before:
Browser
      │
      ▼
HTTP
      │
      ▼
Nginx
      │
      ▼
Node.js
After:
Browser
      │
      ▼
HTTPS 🔒
      │
      ▼
Nginx
      │
      ▼
Node.js
Your application didn't change at all.
Only the connection between your visitors and Nginx became encrypted.
Will I Need to Renew It?
Yes—but probably not manually.
Let's Encrypt certificates are valid for 90 days.
Fortunately, Certbot can renew them automatically before they expire.
You can verify that automatic renewal works by running:
sudo certbot renew --dry-runIf the test succeeds, your server is ready to renew certificates automatically.
Common Beginner Questions
Do I need to pay for HTTPS?
No.
Let's Encrypt provides trusted SSL certificates completely free.
Will HTTPS make my website faster?
HTTPS itself isn't about speed.
Its main purpose is security and trust.
Modern browsers and many web features also expect HTTPS, so it's considered a standard for production websites.
Do I need HTTPS for a portfolio?
Absolutely.
Even if your website doesn't collect passwords or payments, HTTPS helps protect visitors and makes your site look professional.
Wrapping Up
Our deployment now looks like this:
Browser
     │
 HTTPS 🔒
     │
yourdomain.com
     │
     ▼
Nginx
     │
     ▼
Node.js Application
At this point, your application is online, accessible through your own domain, and secured with HTTPS.
In the next article, we'll automate deployments with GitHub Actions so every push to your repository can update your EC2 server automatically.
Share this article
Send it to someone who might find it useful.